Data loss can cripple organizations and devastate personal projects. Whether it’s hardware failure, ransomware attacks, or simple human error, the question isn’t if you’ll need your backups it’s when. For Linux systems administrators, implementing a robust backup strategy isn’t optional; it’s a fundamental responsibility that separates amateur setups from production-grade infrastructure.
This guide explores the core tools every Linux professional must master: tar for archiving, rsync for intelligent synchronization, and dd for low-level disk cloning. We’ll also cover automation techniques and industry best practices that ensure your data remains safe, accessible, and recoverable.
Understanding the 3-2-1 Backup Rule
Before diving into technical implementation, let’s establish the golden standard: the 3-2-1 Rule. This principle dictates that you should maintain:
- 3 copies of your data (one primary, two backups)
- 2 different storage media types (external drives, network storage, tape)
- 1 offsite backup (cloud storage or geographically separate location)
This redundancy protects against multiple failure scenarios simultaneously. A fire might destroy your server and local backup drive, but your offsite copy remains intact. Ransomware might encrypt your primary data, but offline backups stay unaffected.
Section 1: Creating Archives with tar
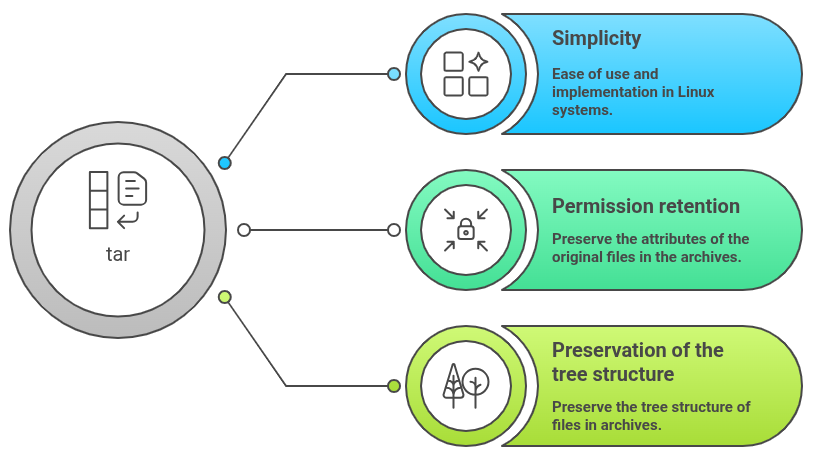
The tar (Tape Archive) utility has been the Unix standard for bundling files since 1979. Despite its age, tar remains incredibly relevant for creating compressed, portable archives of directory structures while preserving file permissions, ownership, and timestamps.
Core tar Operations
The basic syntax follows this pattern: tar [options] [archive-name] [files/directories]
Creating a compressed backup:
tar -czf backup-$(date +%Y%m%d).tar.gz /home/username/documents
Key flags explained:
- -c: Create a new archive
- -z: Compress using gzip (use -j for bzip2, -J for xz)
- -f: Specify the archive filename
- -v: Verbose output (shows files being processed)
- -p: Preserve file permissions
Extracting an archive:
tar -xzf backup-20241223.tar.gz -C /restore/location
The -x flag extracts files, while -C specifies the destination directory.
Incremental backups with tar:
tar -czf full-backup.tar.gz --listed-incremental=backup.snar /data
tar -czf incremental-backup.tar.gz --listed-incremental=backup.snar /data
The –listed-incremental option uses a snapshot file to track changes, allowing subsequent runs to backup only modified files. This dramatically reduces backup time and storage requirements for large datasets.
When to Use tar
Tar excels at creating point-in-time snapshots for archival purposes, software distribution, or transferring directory trees between systems. It’s ideal when you need a single, compressed file that’s easy to move, verify, or store offsite.
Section 2: Intelligent Synchronization with rsync
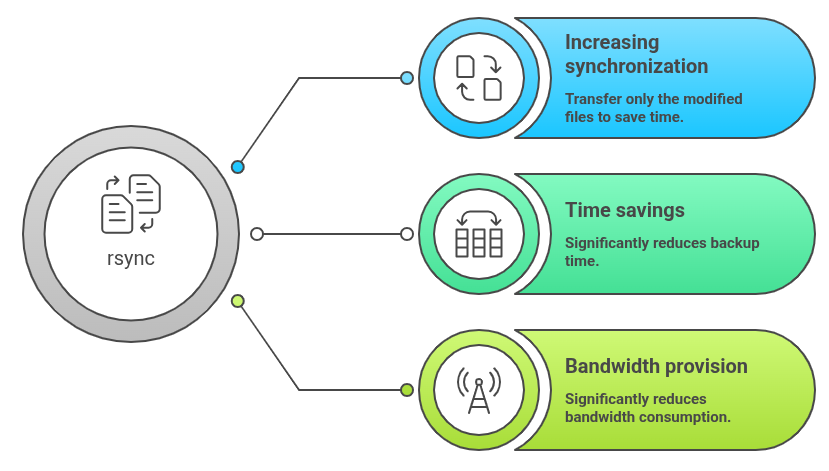
rsync revolutionized backup workflows by introducing the delta-transfer algorithm—a method that transmits only the differences between source and destination files. This makes rsync extraordinarily efficient for both local and remote synchronization tasks.
The Delta-Transfer Algorithm
Instead of copying entire files, rsync divides them into blocks, calculates checksums, and transfers only changed blocks. For a 10GB database file with minor updates, rsync might transfer only a few megabytes instead of the entire file. This efficiency makes rsync the industry standard for continuous backup operations.
Essential rsync Commands
Basic local synchronization:
rsync -av --delete /source/directory/ /backup/directory/
Critical flags:
- -a: Archive mode (preserves permissions, timestamps, symbolic links)
- -v: Verbose output
- -z: Compress data during transfer (crucial for remote backups)
- –delete: Remove files from destination that no longer exist in source
- –exclude: Exclude specific patterns
Remote backup over SSH:
rsync -avz --delete -e ssh /local/data/ user@remote-server:/backup/data/
Advanced example with exclusions:
rsync -avz --delete \
  --exclude='*.tmp' \
  --exclude='cache/' \
  --exclude='node_modules/' \
  /var/www/production/ \
  backup-server:/backups/www/
The Trailing Slash Convention
Understanding rsync’s trailing slash behavior prevents common mistakes:
- /source/directory/ copies the contents into destination
- /source/directory copies the directory itself into destination
When to Use rsync
Use rsync for ongoing synchronization tasks where you need efficient, incremental backups. It’s perfect for mirroring production servers, creating live replicas, or maintaining synchronized copies across multiple locations. The ability to resume interrupted transfers makes it ideal for unreliable network connections.
Section 3: Low-Level Disk Cloning with dd
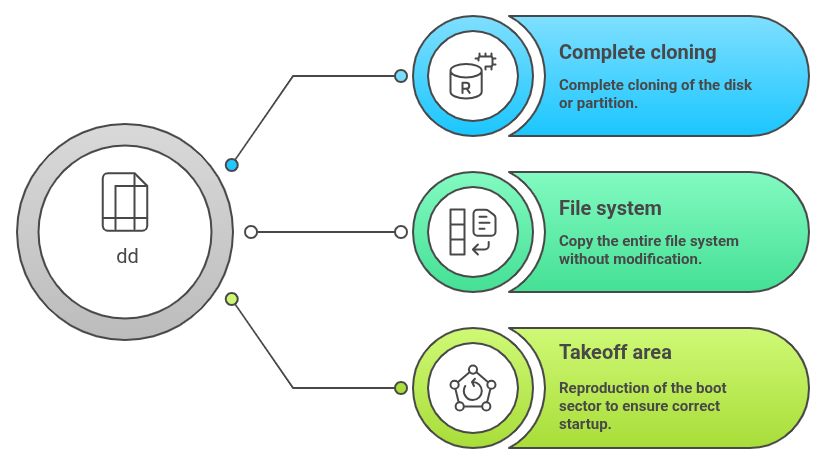
The dd (disk duplicator) command operates at the block level, creating exact bit-for-bit copies of entire devices. Unlike tar and rsync, which work with filesystems, dd makes no assumptions about data structure—it simply copies raw bytes.
Understanding dd Operations
Creating a complete disk image:
sudo dd if=/dev/sda of=/backup/disk-image.img bs=4M status=progress
Flag breakdown:
- if=: Input file (source device)
- of=: Output file (destination)
- bs=: Block size (4M provides good performance)
- status=progress: Shows transfer progress
- conv=noerror,sync: Continue despite read errors
Restoring from an image:
sudo dd if=/backup/disk-image.img of=/dev/sdb bs=4M status=progress
Cloning to a compressed image:
sudo dd if=/dev/sda bs=4M status=progress | gzip > disk-backup.img.gz
CRITICAL SECURITY WARNING
dd is extraordinarily dangerous. Reversing if= and of= parameters will instantly and irrevocably destroy your source data. There is no confirmation prompt, no undo function, and no recovery mechanism. Always:
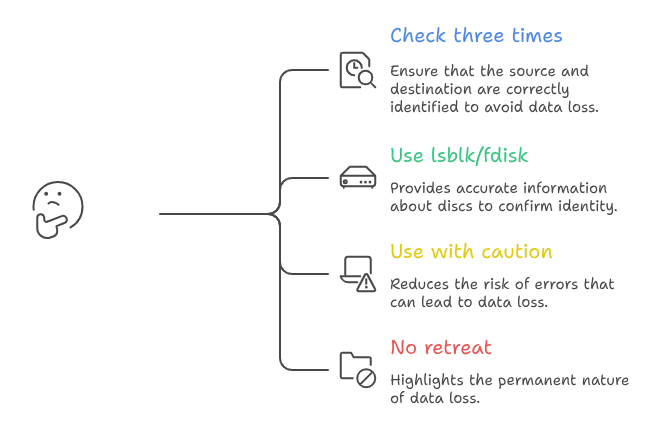
- Triple-check your device identifiers with lsblk before executing
- Use if= for the source you’re reading FROM
- Use of= for the destination you’re writing TO
- Test commands on non-critical systems first
- Consider using safer alternatives like ddrescue for recovery scenarios
When to Use dd
Use dd for disaster recovery scenarios requiring exact disk replicas, such as:
- Creating bootable system clones
- Migrating to new hardware with identical configurations
- Forensic analysis requiring bit-perfect copies
- Backing up partition tables and boot sectors
However, dd is inefficient for routine backups due to its all-or-nothing approach—it copies empty space along with data.
Section 4: Automation with Crontab
Manual backups fail because humans forget. The solution is crontab—Linux’s time-based job scheduler that executes commands automatically at specified intervals.
Configuring Automated Backups
Edit the crontab:
crontab -e
Daily tar backup at 2 AM:
0 2 * * * tar -czf /backups/daily-$(date +\%Y\%m\%d).tar.gz /var/www/html
Hourly rsync synchronization:
0 * * * * rsync -az --delete /data/ backup-server:/remote/data/
Weekly disk image (Sundays at 3 AM):
0 3 * * 0 dd if=/dev/sda of=/backups/weekly-disk.img bs=4M status=progress
Crontab syntax:
* * * * * command
│ │ │ │ │
│ │ │ │ └─── Day of week (0-7, Sunday=0 or 7)
│ │ │ └───── Month (1-12)
│ │ └─────── Day of month (1-31)
│ └───────── Hour (0-23)
└─────────── Minute (0-59)
Backup Rotation Script
Prevent backup directories from consuming all available space:
#!/bin/bash
find /backups -name "daily-*.tar.gz" -mtime +7 -delete
Schedule this script monthly to remove backups older than 7 days.
Section 5: Best Practices for Production Environments
Verification is Non-Negotiable
A backup you haven’t tested is merely a hypothesis. Regularly verify backups by:
Testing tar archives:
tar -tzf backup.tar.gz > /dev/null && echo "Archive intact" || echo "Corruption detected"
Validating rsync with checksums:
rsync -avc --dry-run /source/ /backup/
Encryption for Sensitive Data
Never store sensitive backups unencrypted, especially offsite:
tar -czf - /data | gpg --encrypt --recipient admin@company.com > backup.tar.gz.gpg
For rsync, encrypt the destination filesystem or use encrypted tunnels (SSH inherently provides encryption).
Offsite Storage Strategy
Local and remote backups on the same network infrastructure fail simultaneously during widespread incidents. Implement true offsite backups using:
- Cloud storage providers (AWS S3, Backblaze B2)
- Geographic redundancy (data centers in different regions)
- Physical media rotation (external drives stored separately)
Documentation and Access Control
Document your backup procedures, test restoration workflows regularly, and restrict backup access using proper permissions. A backup that cannot be restored—whether due to missing decryption keys, unknown procedures, or insufficient permissions—provides false security.
Comparison Table: tar vs rsync vs dd
| Feature | tar | rsync | dd |
|---|---|---|---|
| Primary Use | Archival snapshots | Incremental sync | Disk cloning |
| Compression | Built-in (gzip, bzip2, xz) | Transfer compression only | Manual piping required |
| Efficiency | Full copy each time | Delta-transfer algorithm | Copies all blocks |
| Remote Capable | Via piping | Native SSH support | Via piping |
| Preserves Permissions | Yes (with -p flag) | Yes (archive mode) | Exact bit copy |
| Incremental Backups | Limited (snapshot files) | Excellent | Not supported |
| Recovery Flexibility | File-level extraction | File-level sync | Block-level only |
| Speed for Large Datasets | Moderate | Fast (incremental) | Slow (complete copy) |
| Best For | Point-in-time archives | Ongoing synchronization | Disaster recovery clones |
Implementing a comprehensive Linux backup strategy requires combining these tools strategically. Use tar for monthly archives, rsync for daily synchronization, and reserve dd for quarterly disaster recovery images. Automate everything with crontab, verify regularly, encrypt sensitive data, and maintain offsite copies. This layered approach, following the 3-2-1 Rule, ensures your data survives any conceivable failure scenario—transforming backups from a checkbox item into a genuine safety net.